The Allocation Rule is a definition of how great a share of the available items in the warehouse is sent to a particular store or store group. The Add Stores from Store Hierarchy action on the Allocation Rule page lets you easily add Stores, Store Groups, Warehouse Locations, Customers, and Customer Groups as defined in the Store Hierarchy to the Allocation Rules Lines.
To add stores to Allocation Rule from Store Hierarchy
- Navigate to LS Retail - Replenishment - Manual - Allocation Rules to open the Allocation Rule list.
- Create a new Allocation Rule, or select an existing Allocation Rule from the list.
- On the Allocation Rule page, click the Add Stores from Store Hierarchy action on the HOME menu.
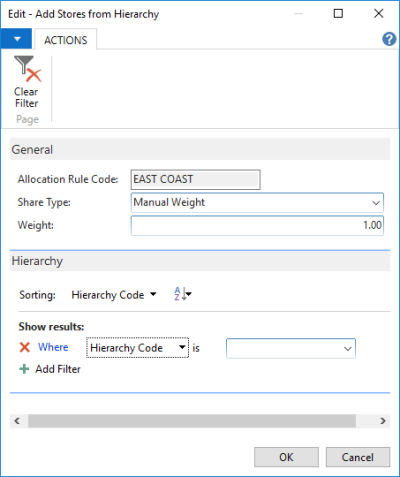
- In the report that appears, select the Share Type to be assigned to the Allocation Rule Lines. Two options are available:
- Default Weight - The stores added will be assigned with the Default Weight value from their Location.
- Manual Weight - The stores added will be assigned with the value in the Weight field.
- Fill in the Hierarchy Code that contains the stores that will be inserted into the Allocation Rules Lines.
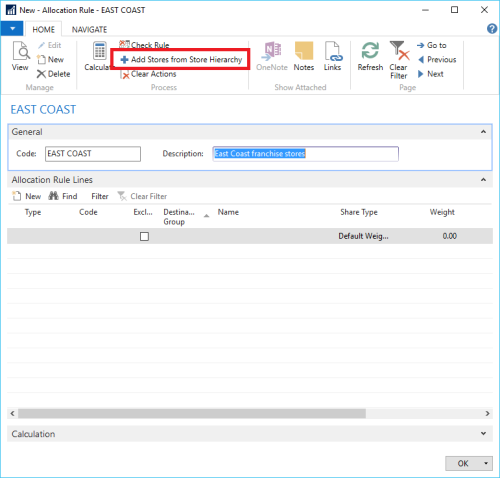
The Allocation Rules Lines added from Store Hierarchy will be marked as New in the Action Message field. This is to make it easier for the user to easily identify lines that are added from Store Hierarchy. The weight values for the Allocation Rule Lines can still be manually updated and once changes are finalized, you can clear the Action Message by clicking Clear Actions.
![]()
If you close the Allocation Rule page without clearing the Action Message, a message will be displayed to let you know that there are Allocation Rules Lines still marked as New.
Tip: You can use the Check Rule action to verify that the Allocation Rule is error-free and ready to be used.